A project is the folder or repository your agents work in. Add one, and you can start a chat in it right away. If you have not installed the app yet, start with Install the app.
Add a project
In the sidebar, select Add project (the plus button next to Projects). The dialog offers three starting points:
- Existing folder adds a folder that is already on your computer. Select Choose folder and pick it. If you are adding it to an organization, select Add project to confirm.
- Remote clones a repository and adds it for you. Enter the repository, then select Clone and add.
- Create new starts a new project. Fill in the details, then select Create project.
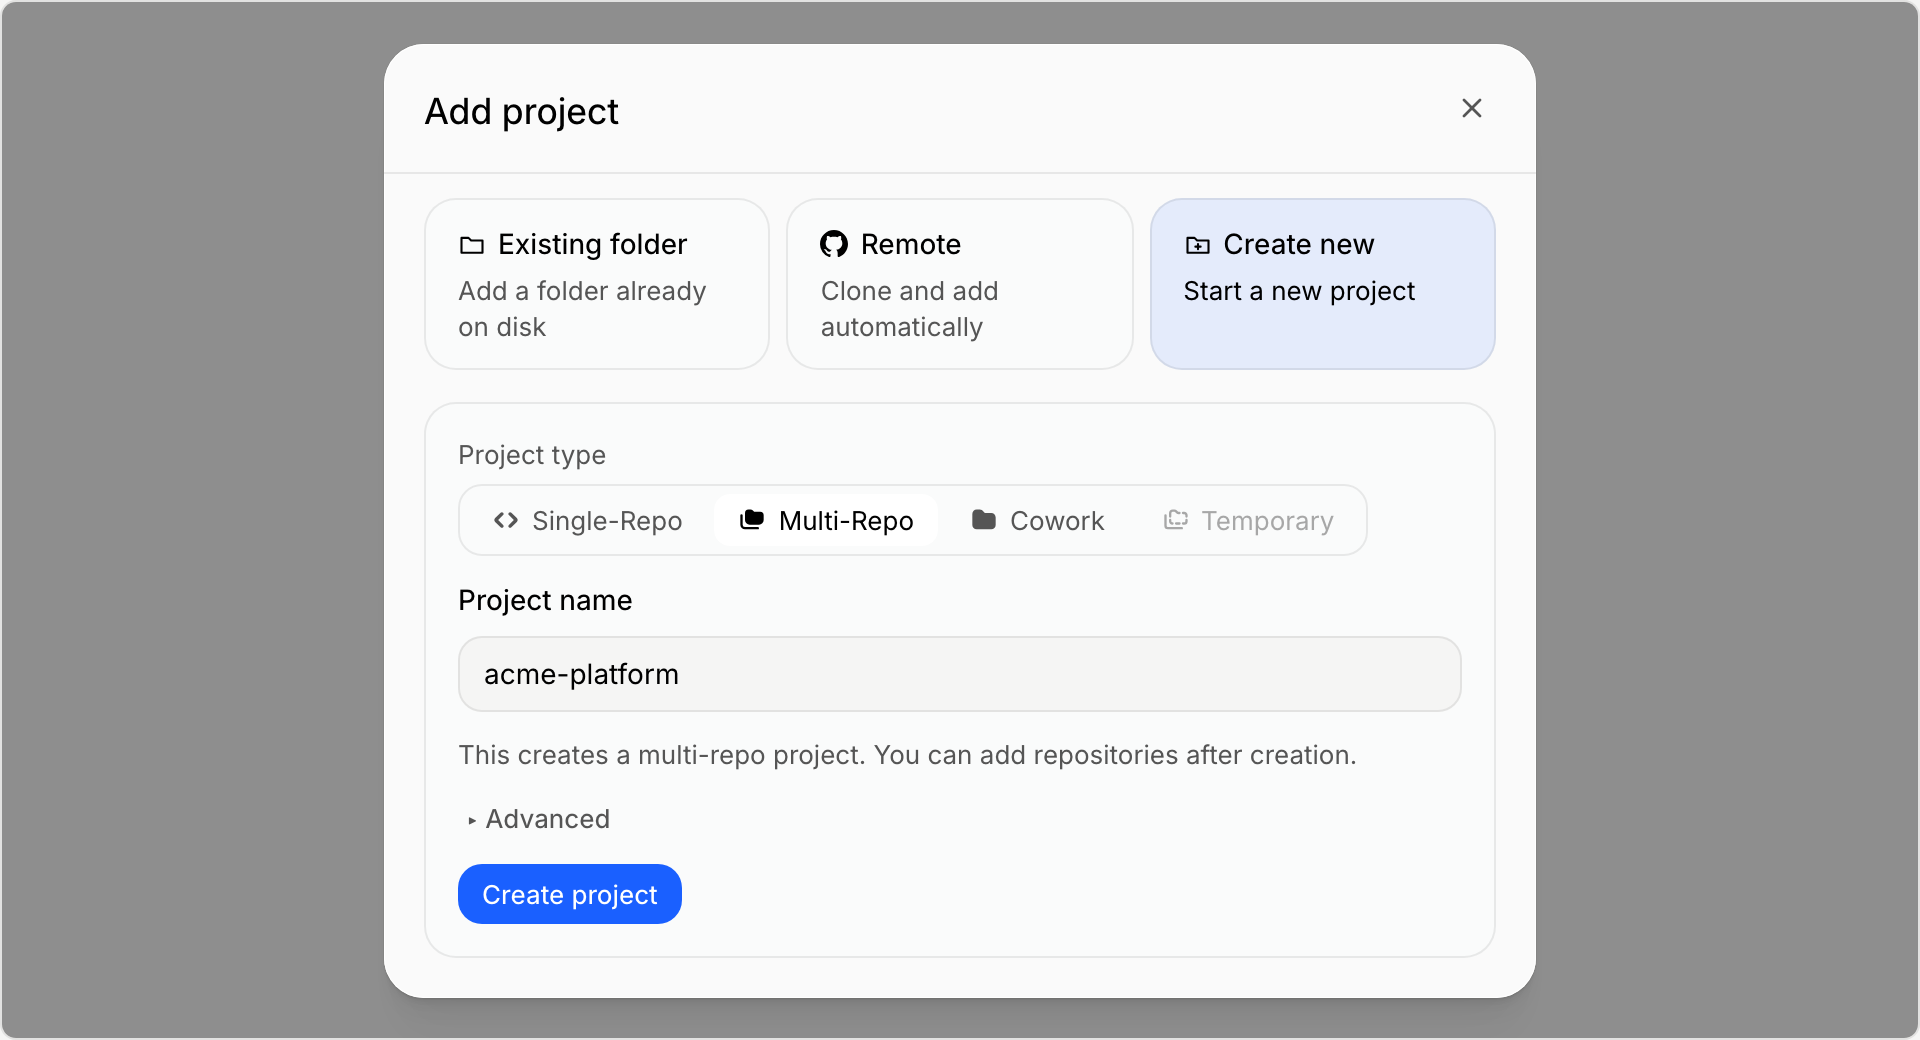
In Work mode the remote option sits behind Clone from GitHub or a URL.
Choose Code or Work mode
The app has two navigation modes:
- Code shows repositories, branches, and worktrees everywhere. See what it is built for on the Code page.
- Work uses plain language and keeps developer controls one step away. See the Work page.
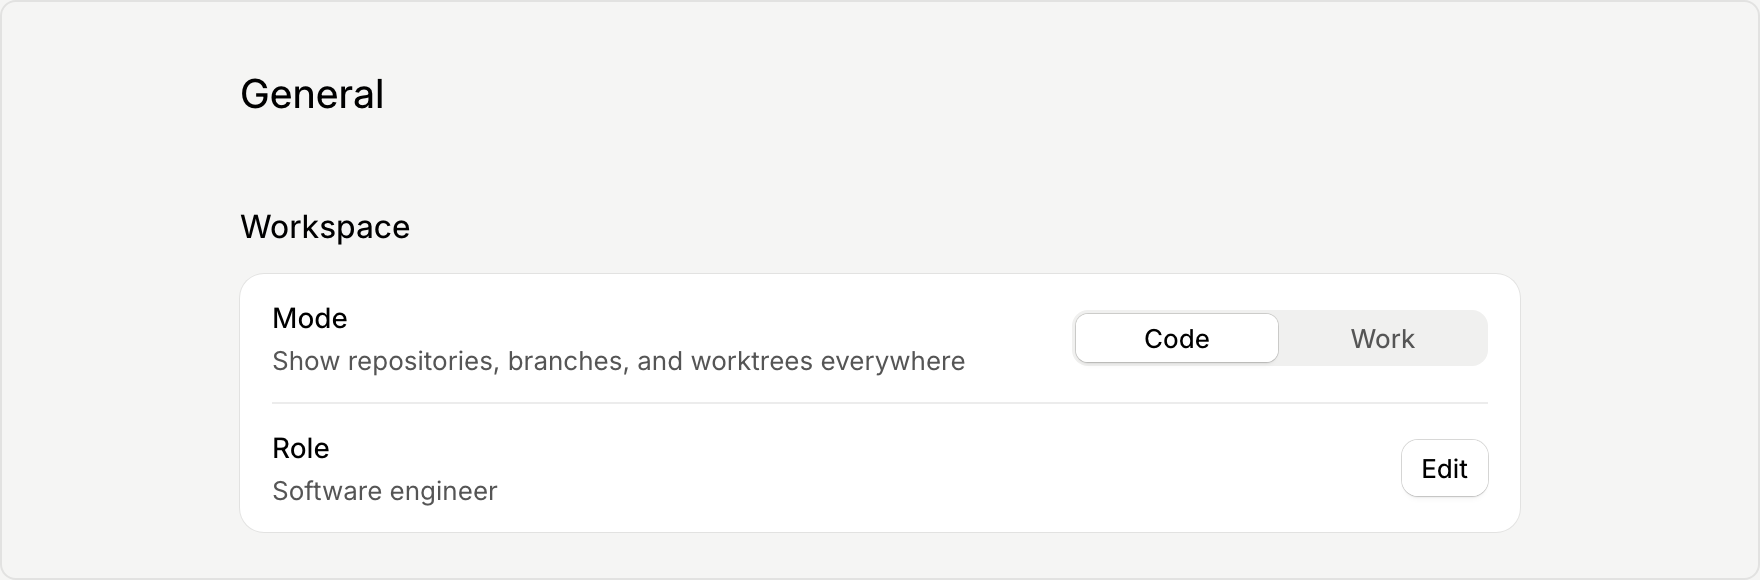
To switch, open Settings, go to General, and find Mode in the Workspace section. You can change it at any time.
Import from Claude and Codex
If you already use Claude Code, Claude Desktop, or Codex, you can bring those projects and chats with you. Open Settings, go to General, and select Import from Claude and Codex in the Import projects row. Your source folders stay where they are.
Next steps
Agents need a model to run. See Connect Claude, Codex, or a local model. To control what an agent may do without asking, see Choose an approval mode.